Showing posts with label Crafts. Show all posts

Infant Hair Accessories


I love making bows that match my baby's outfit perfectly.

A little hint is to keep the ribbon that is tied around blankets or outfits you buy. I was so excited when my mom gave me this outfit with gray and white stripes because I had the ribbon that matched exactly.

I think most people have seen how to make Lace flowers. If not,  here is a good tutorial from 

{Wire} Ribbon Flowers: It is very easy to make them with wire edge ribbon. Just pull on the wire to cinch up one end. Pay close attention to make sure the wire doesn't pull out the other side. Then you wrap it around just like the lace flowers. 
If the ribbon doesn't have wire just use a needle and thread to weave in and out of one side. Then pull  to cinch it up and create that wavy affect. 

I made Fabric Flowers from an old sheet using this method from Homemade Gifts Made Easy

I was playing with ribbon one day and realized I could make {Knot} Ribbon Flowers. I started by making one tight knot at the end and then about 12 loose knots. Then I just wrap it around the tight knot and work my way out using hot glue as I go.

My mom recently bought us some bows that were on baby snap clips and I love them because they are flat against baby's head and someday when her hair comes back in we can use them right in her hair. So I ordered some on Amazon that work out to be less than $0.10 a piece... then when I counted to make sure they sent me enough they had sent extra (about 155 instead of 144). I bought a lot thinking it will make a good baby shower gift. 

I also love these headbands because there is enough room to clip a few for a flowers and make the perfect color cluster. And you can get the set of 16 for less than $9.00 on Amazon. :)


There are so many ways to make flowers. I have a whole pin board dedicated to hair accessories. 


Fuzzy

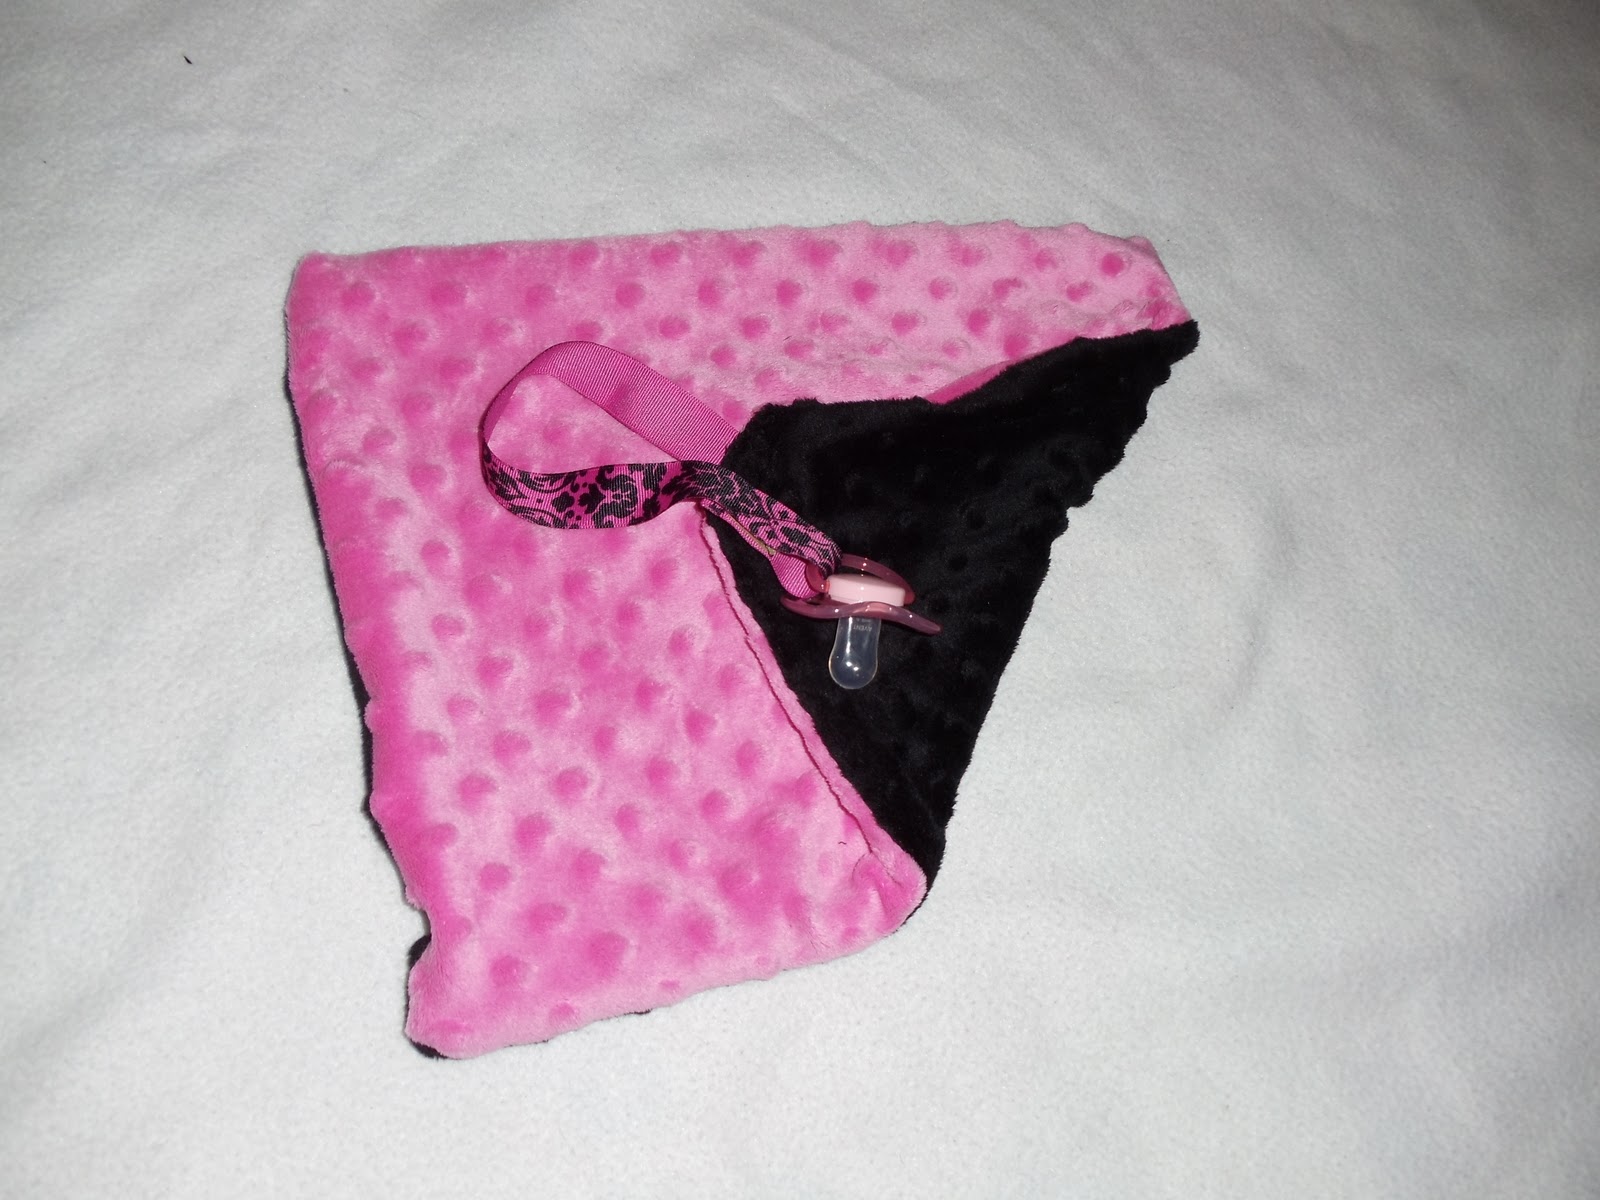
I received both these before my baby was born. With a newborn, I had a hard time finding a good place to clip the binky. I started clipping it to this little blanket square. My baby love fuzzy things next to her face and I usually had it when I was trying to calm her down anyway. I realized that it will be really nice when it is time to take the binky away that she will still have her fuzzy. 

 We loved it so much that I went to the fabric store so I could make more. I just put a little velcro on the ribbon so it is complete all by itself. We have started referring to it as her "fuzzy" and I plan on making a few so I always have a clean "fuzzy" when I am doing laundry.

It's a Girl!

Last summer I put together a nursery that was gender neutral.


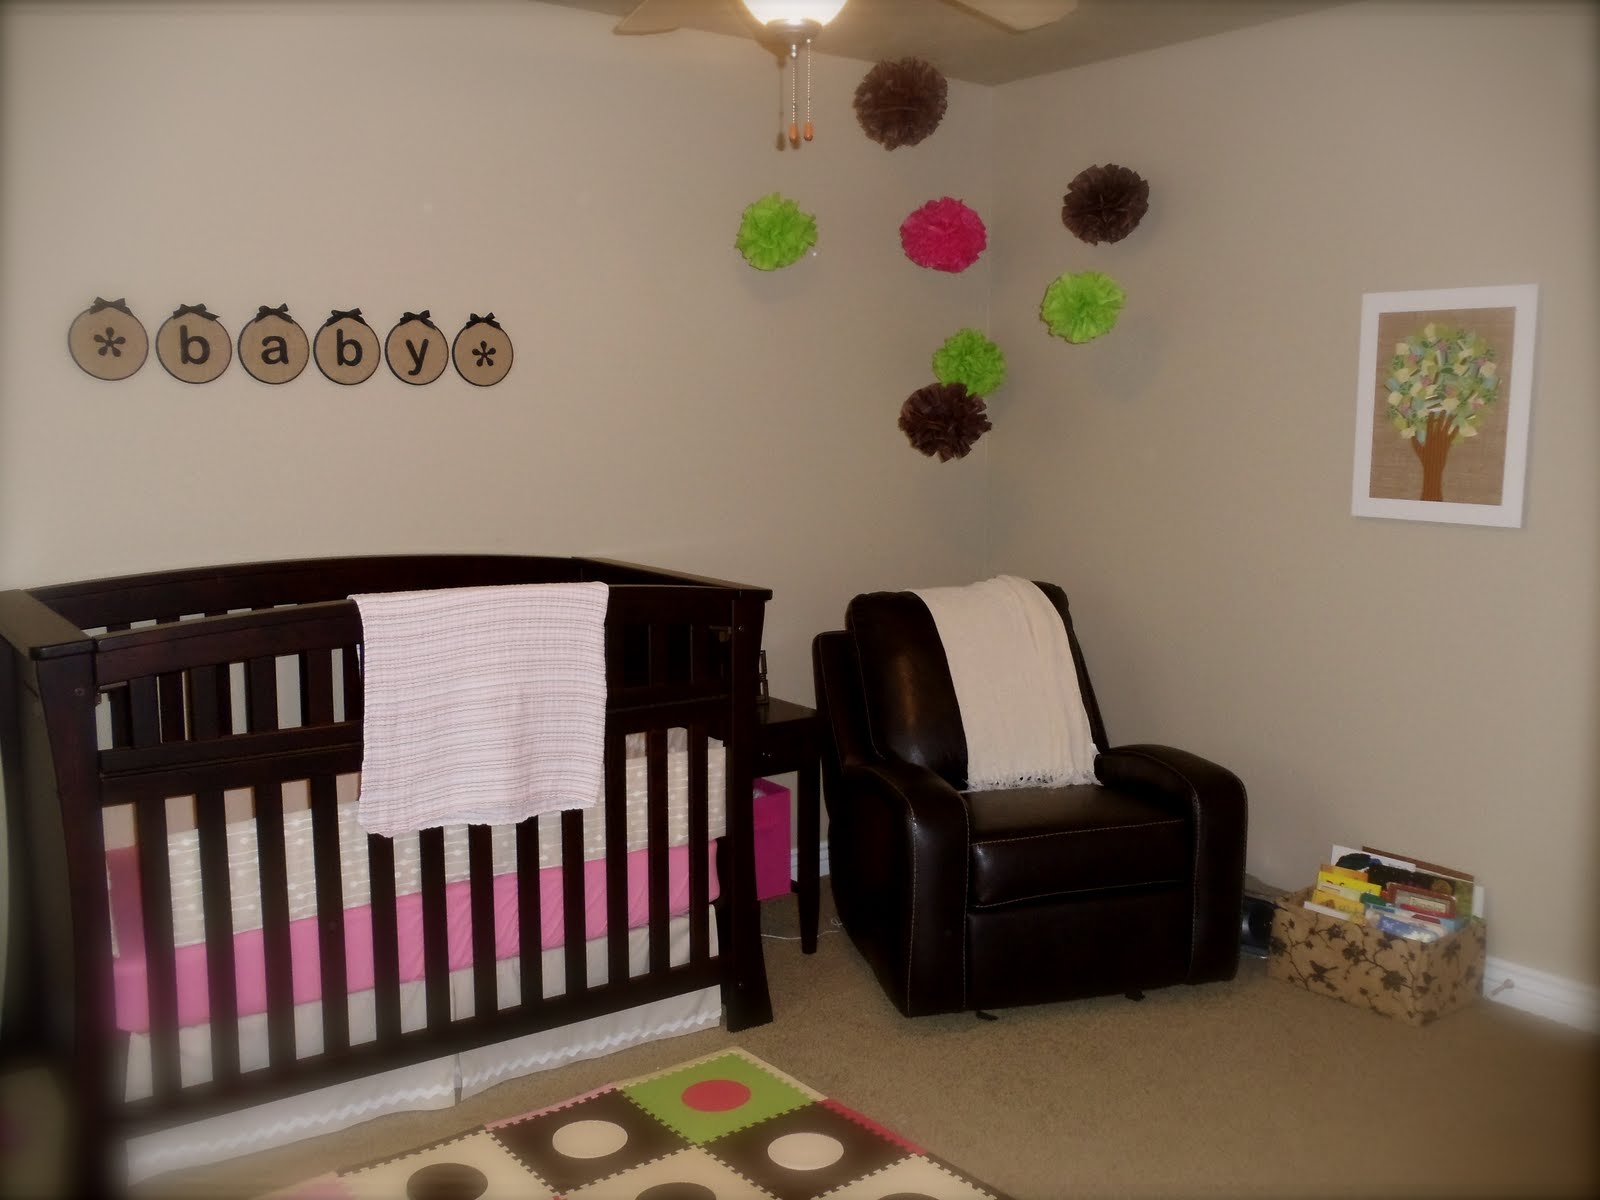
It turns out I am having a girl and so I switched it up to this:
I added a pink sheet to the baby bedding.  I took the blue out of the play mat and replaced it with more pink. I was tempted to add more green because Ross has a brown and green set now... but decided to just use what I have.


I added a pink tissue paper pom-pom. ...and if you look closely at the tree art I added a few pink apples to it. (Eventually baby's name will be above her crib.)


I added a couple of storage boxes to the shelf. I took the yellow off the ABC's & 123's art and replaced it with some pink.

And I hung this adorable bow holder a friend made.

Now all it needs to be complete is a beautiful little girl. :)

Pouch Sling

I knew I wanted a pouch sling like this:

But I also knew if I were going to wear it out and about, I wanted the pattern to be basic and simple. I decided to go with a plane black for the outside and a black and white print for the liner. I found this territorial on youtube and it went together really easy.


Baby Bedding ...and more of the nursery

The crib has arrived!!

And I spent all day Saturday making some bumpers.


I used my Cricut and Make the Cut software to cut out a stencil for my fabric (using freezer paper). Then I ironed it onto the fabric I already cut out.

I layed out the panels on cardboard...


and I used thumbtacks to keep it blowing from away.  


I used a fabric spray paint to paint it and then sewed it together.  


I thought I measured, but some how I cut the bumpers too short, and that means I will have to try again.

Here is a closer look at the two different styles:


PLEASE pipe in and let me know what you think about color, and if I do just the waves, or polka dot pattern. But before you comment I'll show you a few more views of the room.


This is looking up from the crib.


Doesn't tummy time seem appealing with this low shelf?


...especially with a mirror hidden behind one of the openings. :) As you can see from all the fingerprints it has already been a big hit with the kids I have babysat.


And some matching pillows will help the grownups feel comfortable to be down on the child's level.


But grownups are also welcome to sit in the comfortable glider to read a book.


...or lean back and take a nap.


And someday this will display baby's name.


I love the way everything came together! It was a fun project!

Cards

I was making a few birthday cards today and decided to make on similar to this one. I tried to find the tutorial again but couldn't find it. But I did spend several minuets looking through the collection of tutorials Hero Arts has. It is one of my favorite places to go for card inspiration.


Where do you find your card inspiration??

Family Silhouette


 I made this a few weeks ago but couldn't post it until I gave it to my mommy for her birthday.


It took me a couple of attempts to get it right so here is what I learned:

To make the stencil I used several pictures I already had and the pictures others had posted on their facebook so I did't have to spoil the surprise and tell them what I was doing, BUT it is defiantly easier to make if the picture is taken with the sun behind the subject. 

First I made the a stencil. There are two ways to do this:

OPTION ONE(print and cut)
Print the pictures out on freezer paper and use a exacto-knife to cut it out. I found this trick on It's a Daisy Day.

OPTION TWO (use Cricut, and Make the cut to cut he stencil out for you)
Open the photos in photoshop to make a silhouette from each image. Then make one image with all the silhouettes just as you want them to be cut.


Use Make the Cut software to trace the image and cut out the image out of freezer paper (wax side down).


Cut the fabric to the size of the frame by using the glass as a guide. (I used some extra burlap I had)

Lay the stencil on the fabric and iron it on.

It was easier to get the placement of the center pieces by ironing on the big piece around. After it was ironed on, pull off the large piece and leave the small pieces on the fabric.


Then paint all the exposed fabric.

 **the first time I painted I let it get too wet and the paint bled into the covered areas. If you use a spray paint, do several light even coats and let dry in-between.***

When it's dry, remove the paper and put it in the frame.

 I also think this would make an adorable little pillow!


This idea was featured: 


UndertheTableandDreaming


Wrapping Paper

I guess I am a little picky when it comes to the wrapping paper I use. I hate when I use really thin paper. I feel like I can't pull it tight or it will rip. I went to several stores today to search for wrapping paper. Who knew it could be so hard to find something as simple as wrapping paper? My last stop was Hobby Lobby and I found what I was looking for. Yeah!! Next time I will start out at Hobby Lobby. the paper is super cute, thick, and has the 1" grid on the back.

From Spring to Summer

I LiNk uP hERe...

I love my Spring block set made by Adams & Co. In fact even though the summer is almost over, my spring blocks were still sitting on top of my cupboards. I was looking up at them and then realized that spring and summer have the same amount of letters... so today I did this.


I'll still be able to use them for spring because I just decorated the back.  This is all I did.

Summer Block Set
Use circuit to cut letters (S M M E R).
Cover the letters in glue and sprinkled glitter on.
Glue letters on the back of the Spring blocks.


So fast & easy :)

Blind Slat Frame

I LiNk uP hERe...
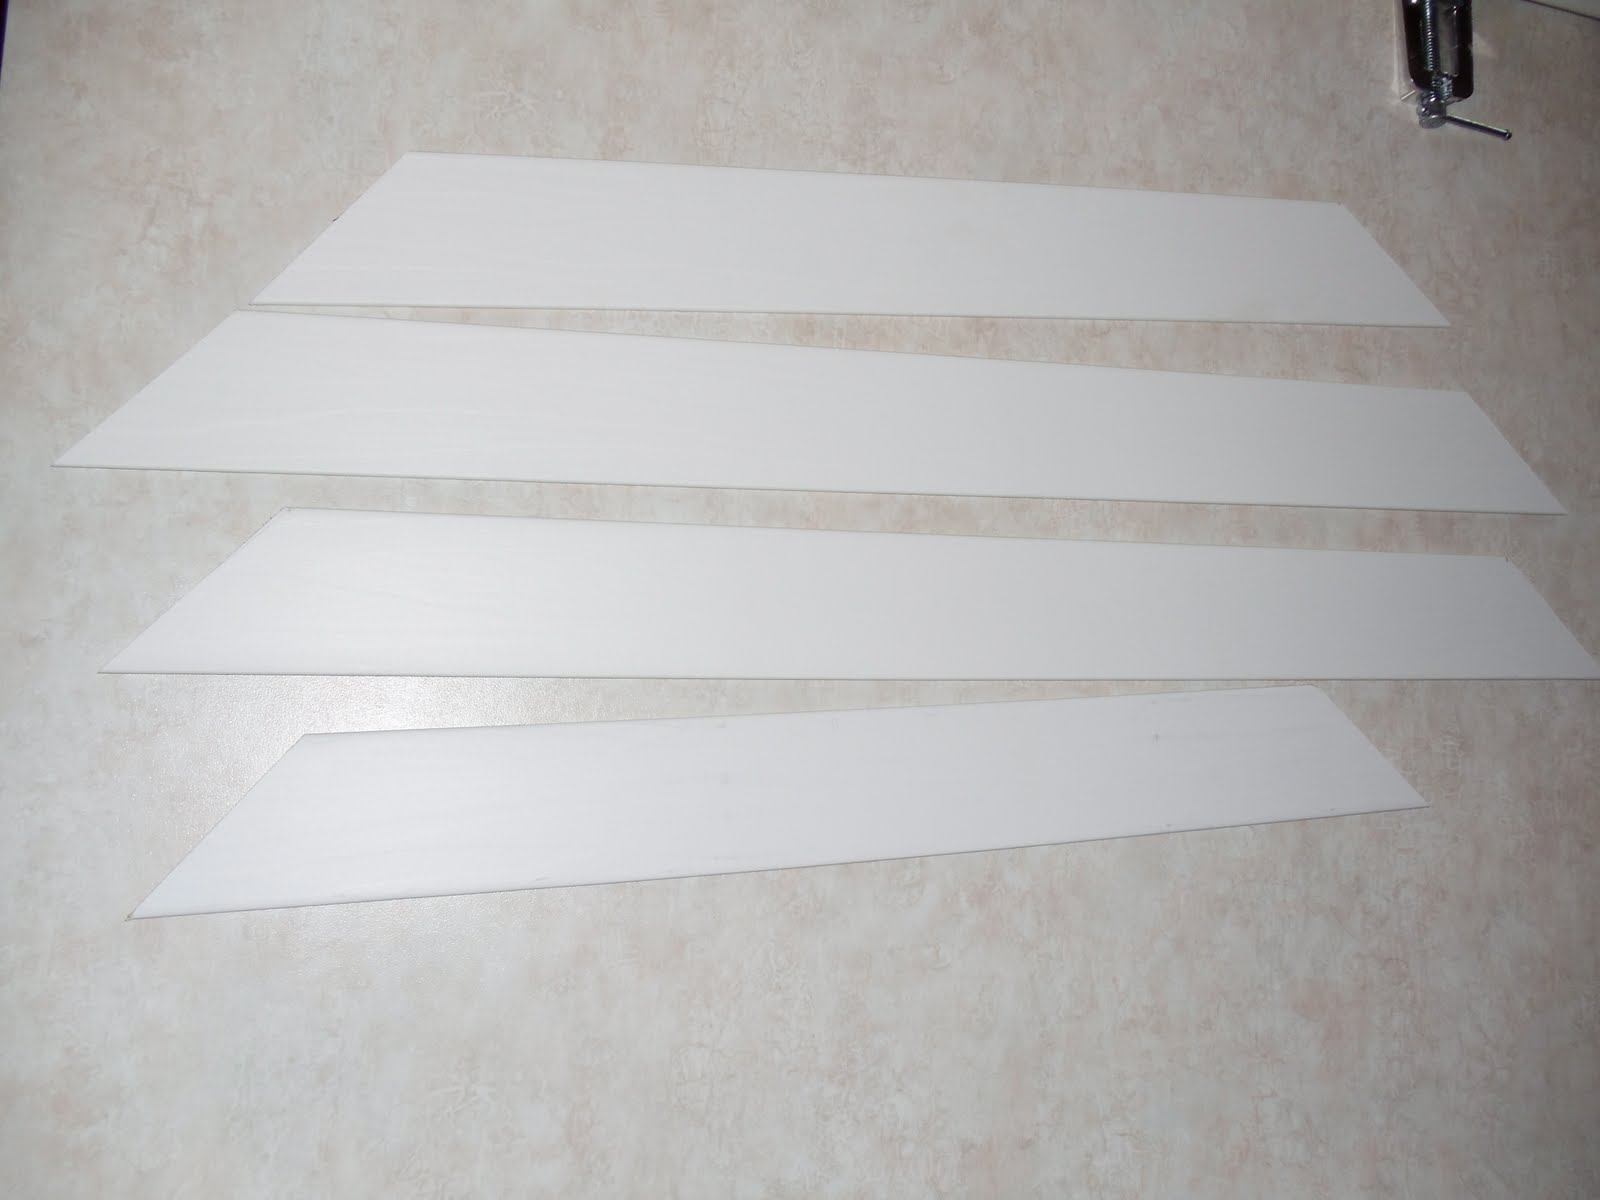
When we got our blinds, they were very long and we had to remove several slats to make them fit our windows. I couldn't bear to throw them away. I was sure I'd think of a fun kids craft for them.

... 4 years later I made one of these (but mine is not as cute):

The color of my walls is so close to the color of the burlap that I decided it needed a frame. Suddenly I remembered I had the blind slats that would be perfect. 

You will need two slats to make one frame.
Measure the width and length of the frame and subtract 2"
Use a pencil to draw marks on the frame (this will be the inside corners of the frame)
Then draw a 45 degree angle outward from your marks.
Tape slats together using packing tape (you can do several frames at the same time), and make the cuts.


Use glue to adhere the corners together. I was able to borrow some corner clamps to help it dry perfectly.


When the frame was dry, I used a glue gun to put it right on the picture.


Related Posts Plugin for WordPress, Blogger...